Houseplants have become an integral part of modern living, not only adding a touch of nature to our indoor spaces but also offering numerous health benefits. One of the most exciting and cost - effective ways to grow your houseplant collection is by propagating new plants from cuttings. In this guide, we'll walk you through the easy, fun, and practically - free steps to grow new houseplants from cuttings.
First, let's understand why propagating from cuttings is such a great idea. When you take a cutting from a healthy houseplant, you're essentially creating a clone of the parent plant. This means you can have multiple copies of your favorite plants without having to spend money on buying new ones. It's also a rewarding process that allows you to witness the miracle of new life as the cutting develops roots and grows into a new plant.
### Step 1: Choose the Right Plant and Cutting
Not all houseplants are suitable for propagation from cuttings. Some of the best candidates include pothos, philodendron, spider plants, and succulents. When selecting a cutting, look for a healthy stem that is at least 3 - 6 inches long. The stem should have several leaves and be free from any signs of disease or damage. For succulents, you can take a leaf cutting instead of a stem cutting.
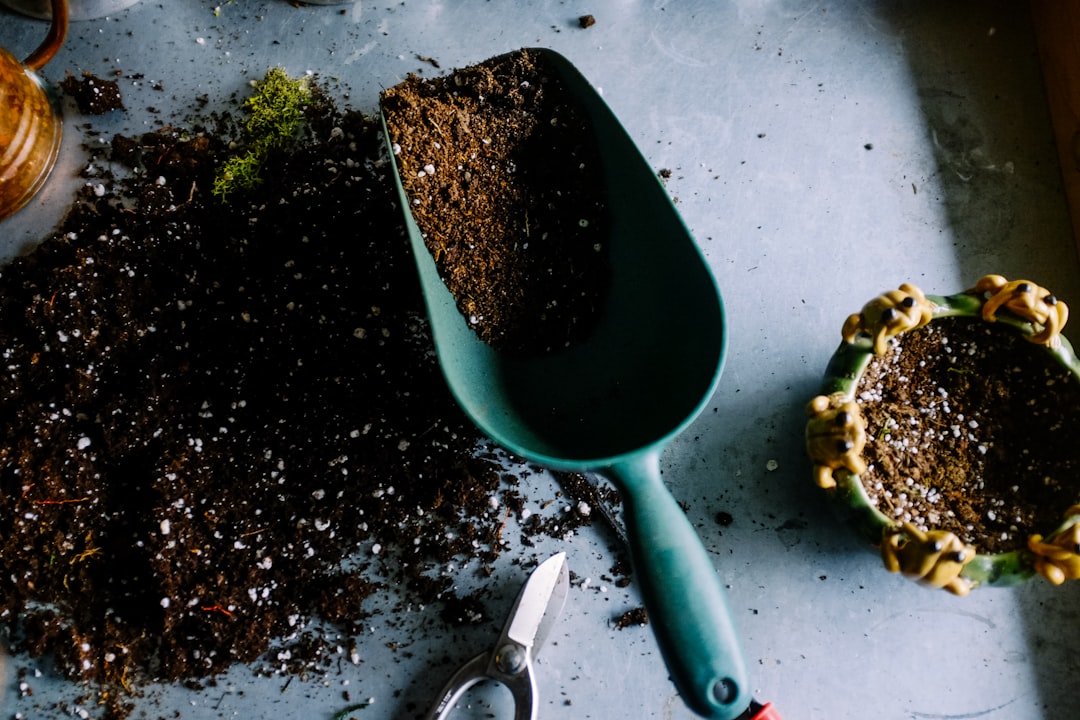
### Step 2: Prepare Your Tools
You'll need a sharp, clean pair of pruning shears or scissors to take the cutting. It's important to use clean tools to prevent the spread of diseases. You can also prepare a small container filled with water or a well - draining potting mix, depending on the propagation method you choose.
### Step 3: Take the Cutting
Using your sharp tools, make a clean cut just below a node (the point on the stem where a leaf attaches). Remove any lower leaves from the cutting, leaving only a few at the top. This will help the cutting focus its energy on root development rather than supporting the leaves.
### Step 4: Propagation Methods
Water Propagation: Place the cutting in a container filled with water, making sure that at least one node is submerged. Change the water every few days to keep it fresh. You'll start to see roots emerging from the node within a few weeks. Once the roots are about an inch long, you can transfer the cutting to a pot with potting mix.
Soil Propagation: Dip the cut end of the cutting in rooting hormone (although this is optional). Make a small hole in the potting mix using a pencil or your finger and insert the cutting. Gently press the soil around the cutting to hold it in place. Keep the soil moist but not waterlogged. You can cover the pot with a plastic bag to create a humid environment, which will help the cutting root faster.
### Step 5: Care for Your New Plant
Once your cutting has developed roots and is growing in soil, it's important to provide it with the right care. Place the plant in a location with bright, indirect light. Water it when the top inch of the soil feels dry. As the plant grows, you can start to fertilize it with a balanced houseplant fertilizer according to the package instructions.
### Troubleshooting
Sometimes, things may not go as planned. If your cutting isn't rooting, it could be due to several reasons. The water may be too cold or the soil may be too wet or dry. Make sure you're providing the right conditions for your plant. If you notice any signs of mold or rot, remove the affected parts immediately and adjust the care accordingly.
In conclusion, growing new houseplants from cuttings is a fun and rewarding activity that allows you to expand your plant collection without breaking the bank. With a little patience and the right techniques, you'll be able to enjoy a thriving indoor garden filled with your own propagated plants.
New