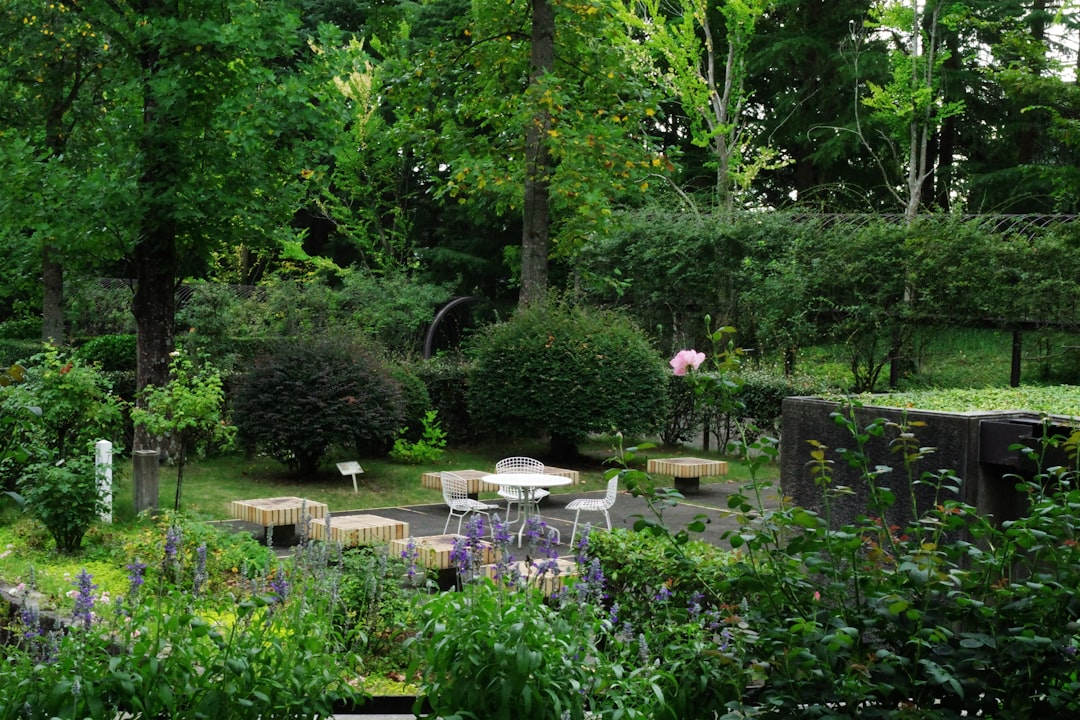
Are you looking for an innovative and cost - effective way to start your own garden? Look no further! In this guide, we'll explore how you can turn the straw bales that once served as charming fall decor into a budget - friendly raised garden bed. This simple method not only repurposes materials but also provides an excellent growing environment for your plants.
First, let's understand why straw bales are a great choice for a raised garden bed. Straw bales are porous, which means they allow for good air circulation and drainage. They also break down over time, adding organic matter to the soil and providing nutrients for your plants. Moreover, they are relatively inexpensive and easy to work with, making them ideal for novice and experienced gardeners alike.
### Preparing the Straw Bales
Before you can start planting in your straw bales, you need to prepare them. Begin by selecting high - quality straw bales. Avoid hay bales, as they often contain weed seeds. Place the straw bales in the location where you want your garden bed to be. Make sure the area receives at least six hours of sunlight per day.
Next, you'll need to condition the straw bales. This process involves wetting the bales thoroughly and then adding a nitrogen source. You can use a high - nitrogen fertilizer or manure. Wet the bales every day for about two weeks. During this time, the straw will start to break down, and the internal temperature of the bales will rise. This is a sign that the decomposition process has begun.
### Choosing the Right Plants
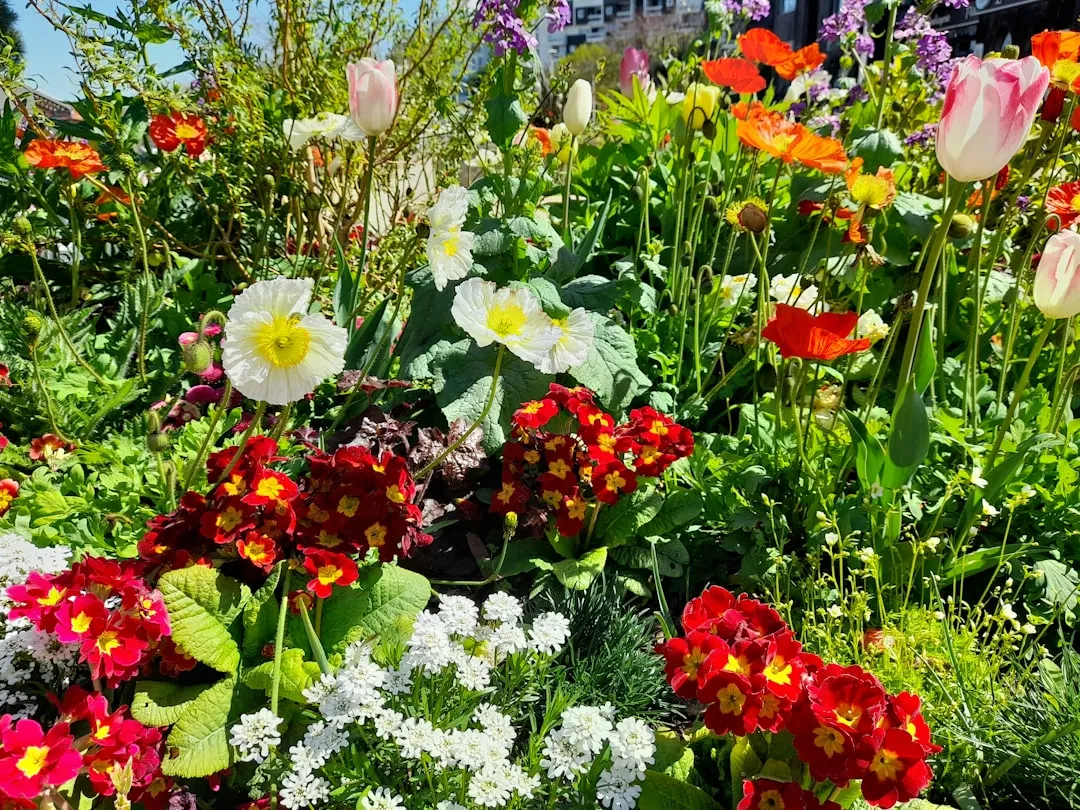
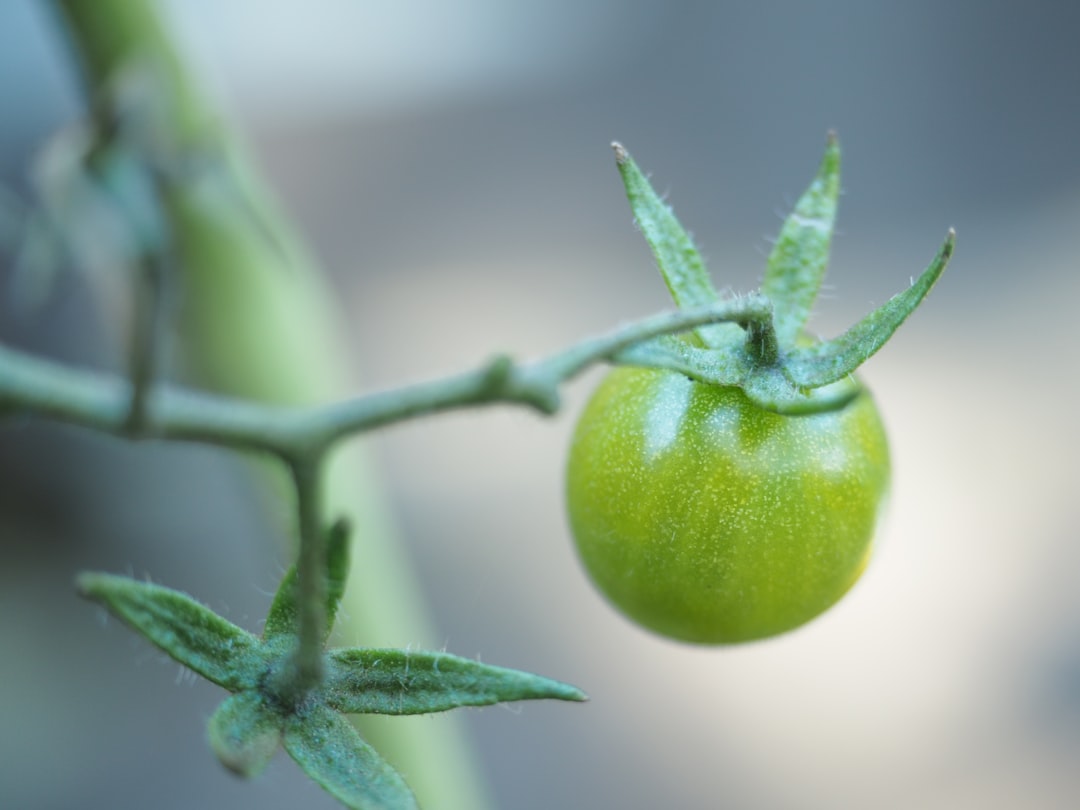
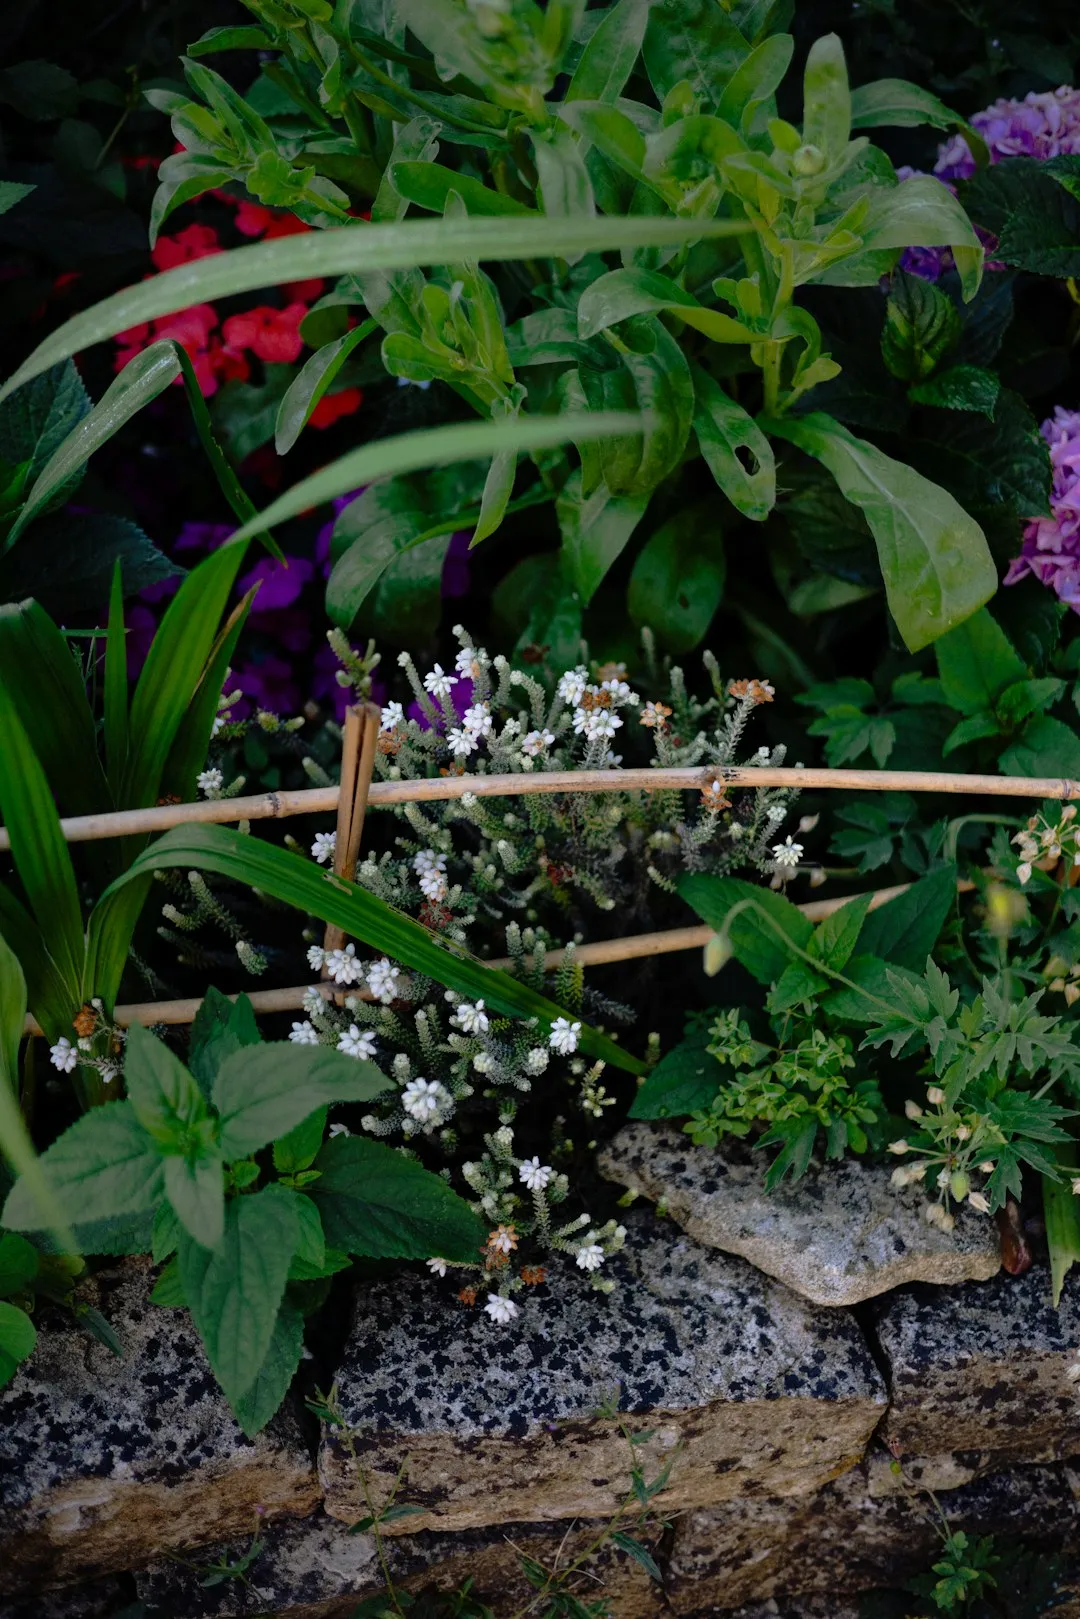
Once your straw bales are conditioned, it's time to choose the plants you want to grow. Many types of vegetables, herbs, and flowers can thrive in a straw bale garden. Some popular choices for vegetables include tomatoes, peppers, cucumbers, and lettuce. Herbs like basil, parsley, and thyme also do well. For flowers, consider marigolds, zinnias, and petunias.
When selecting plants, make sure to consider their sunlight and water requirements. Most plants need full sun, but some, like lettuce, can tolerate partial shade. Also, keep in mind that straw bales dry out more quickly than traditional soil, so you'll need to water your plants more frequently.
### Planting in the Straw Bales
To plant in the straw bales, create holes in the top of the bales using a trowel or your hands. The holes should be deep enough to accommodate the root ball of your plants. Gently place the plants in the holes and fill in the space around the roots with additional straw or a small amount of potting soil.
After planting, water the plants thoroughly. You may also want to add a layer of mulch on top of the bales to help retain moisture and prevent weeds from growing. As the plants grow, you may need to provide support, such as stakes or cages, especially for taller plants like tomatoes.
### Maintaining Your Straw Bale Garden
Maintaining a straw bale garden is relatively easy. Regularly water your plants to keep the straw bales moist. Check the moisture level by inserting your finger into the bale. If it feels dry, it's time to water. Fertilize your plants every few weeks with a balanced fertilizer to ensure they have enough nutrients.
Keep an eye out for pests and diseases. You can use natural pest control methods, such as neem oil or insecticidal soap, to keep pests at bay. Remove any dead or diseased leaves and plants promptly to prevent the spread of diseases.
As the season progresses, the straw bales will continue to break down. At the end of the growing season, you can either remove the bales and start fresh with new ones the following year or incorporate the decomposed straw into your existing soil to improve its structure and fertility.
In conclusion, turning straw bales from fall decor into a raised garden bed is a wonderful way to create a beautiful and productive garden on a budget. With a little preparation and care, you can enjoy a bountiful harvest of vegetables, herbs, and flowers. So, gather your straw bales and get started on your gardening adventure today!
New