Edible gardening is a rewarding hobby that allows you to grow your own fresh produce right at home. Among the many vegetables you can cultivate, sweet potatoes stand out as a nutritious and versatile option. In this guide, we'll explore everything you need to know about growing sweet potato plants in your garden, from planting to harvesting and beyond.
Selecting the Best Sweet Potato Variety
Before you start planting, it's important to choose the right sweet potato variety for your garden. There are several types available, each with its own unique flavor, texture, and growing requirements. Some popular varieties include Beauregard, a sweet and moist variety that is great for baking and roasting; Jewel, which has a rich, sweet flavor and is often used in pies and casseroles; and Garnet, a firm and dry variety that is ideal for frying and mashing.
When selecting a variety, consider your climate, soil type, and personal preferences. Some varieties are more tolerant of heat and drought, while others prefer cooler temperatures and moist soil. You can also choose between bush and vining varieties, depending on the amount of space you have in your garden.
Preparing Your Garden for Planting
Once you've selected your sweet potato variety, it's time to prepare your garden for planting. Sweet potatoes prefer well-drained, loose soil that is rich in organic matter. You can improve the soil quality by adding compost, manure, or other organic amendments before planting.
Choose a sunny location in your garden that receives at least 6-8 hours of direct sunlight per day. Sweet potatoes need plenty of sunlight to grow and develop properly. You can also plant sweet potatoes in raised beds or containers if you have limited space or poor soil conditions.
Planting Sweet Potatoes
Sweet potatoes are typically planted in the spring, after the last frost date in your area. You can start sweet potatoes from slips, which are small plants that are grown from sweet potato tubers. You can purchase slips from a nursery or garden center, or you can grow your own at home.
To grow your own slips, place a sweet potato tuber in a jar or glass of water, with the top half of the tuber above the water line. Keep the water level constant and change it every few days to prevent mold and bacteria growth. After a few weeks, small sprouts will emerge from the top of the tuber. Once the sprouts are about 4-6 inches long, you can carefully remove them from the tuber and plant them in your garden.
When planting sweet potato slips, dig a hole in the soil that is deep enough to accommodate the roots of the slip. Place the slip in the hole and cover the roots with soil, leaving the top of the slip exposed. Space the slips about 12-18 inches apart in rows that are 3-4 feet apart.
Controlling Pests and Diseases
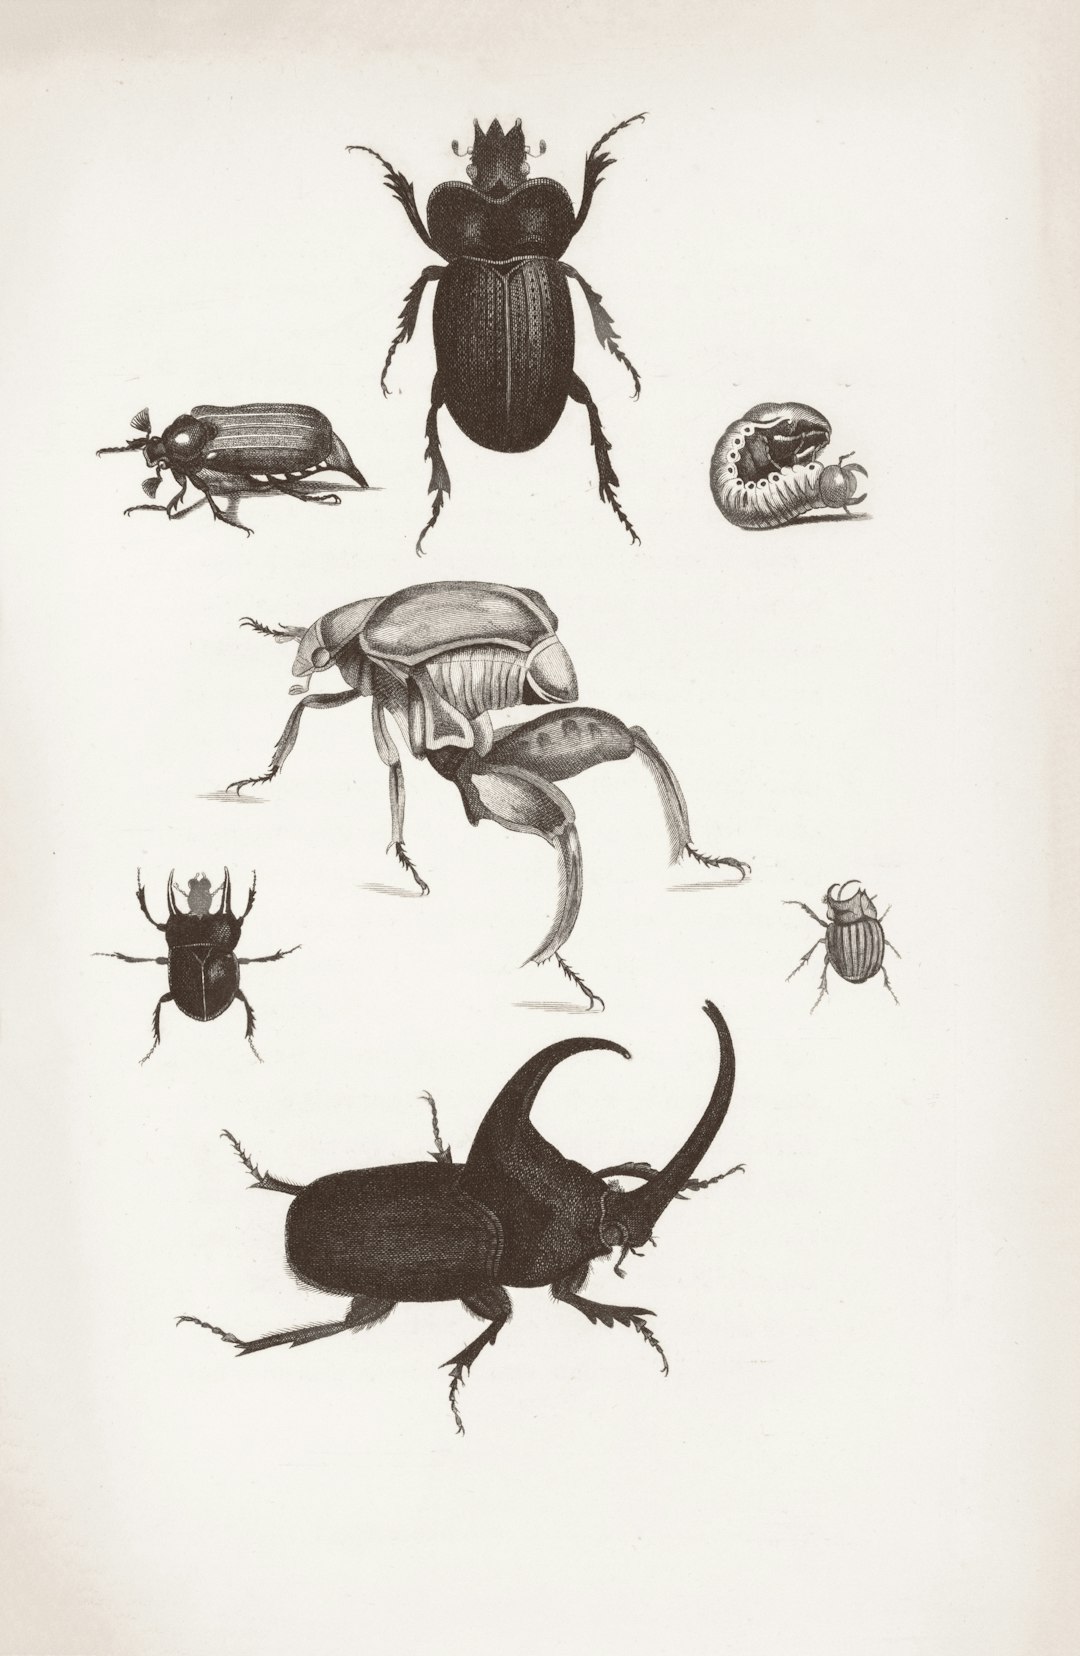
Like all plants, sweet potatoes are susceptible to pests and diseases. Some common pests that can affect sweet potatoes include sweet potato weevils, wireworms, and nematodes. To control pests, you can use natural methods such as handpicking, companion planting, and using insecticidal soaps or oils. You can also use chemical pesticides if necessary, but be sure to follow the instructions carefully and use them only as directed.
Some common diseases that can affect sweet potatoes include sweet potato scurf, black rot, and fusarium wilt. To prevent diseases, you can practice good garden hygiene by keeping your garden clean and free of debris. You can also rotate your crops each year to prevent the buildup of soil-borne diseases. If you notice any signs of disease, such as yellowing leaves or wilting plants, remove the affected plants immediately and dispose of them properly.
Harvesting Sweet Potatoes
Sweet potatoes are typically ready to harvest 90-120 days after planting, depending on the variety and growing conditions. You can tell when sweet potatoes are ready to harvest by looking at the leaves of the plant. When the leaves start to turn yellow and die back, it's a sign that the sweet potatoes are mature.
To harvest sweet potatoes, use a garden fork or shovel to carefully dig around the base of the plant. Be careful not to damage the sweet potatoes as you dig. Once you've loosened the soil around the plant, gently lift the sweet potatoes out of the ground. Brush off any excess soil and let the sweet potatoes dry in the sun for a few hours.
Curing Sweet Potatoes
After harvesting, sweet potatoes need to be cured to improve their flavor and storage life. Curing involves storing the sweet potatoes in a warm, humid environment for a period of time. This allows the sweet potatoes to develop a thicker skin and convert some of their starches into sugars.
To cure sweet potatoes, place them in a single layer in a box or crate lined with newspaper or straw. Store the sweet potatoes in a warm, humid environment, such as a basement or garage, with a temperature of 80-85°F and a relative humidity of 85-90%. Leave the sweet potatoes to cure for 10-14 days.
Storing Sweet Potatoes
Once the sweet potatoes are cured, they can be stored in a cool, dry place for several months. You can store sweet potatoes in a root cellar, basement, or pantry, as long as the temperature is between 55-60°F and the relative humidity is between 60-70%. Avoid storing sweet potatoes in the refrigerator, as the cold temperature can cause them to develop a hard center and a bitter taste.
In conclusion, growing sweet potatoes in your garden is a fun and rewarding experience. By following these tips and guidelines, you can successfully grow sweet potato plants in your garden and enjoy a bountiful harvest of delicious, nutritious sweet potatoes. So, what are you waiting for? Start planning your sweet potato garden today!
New