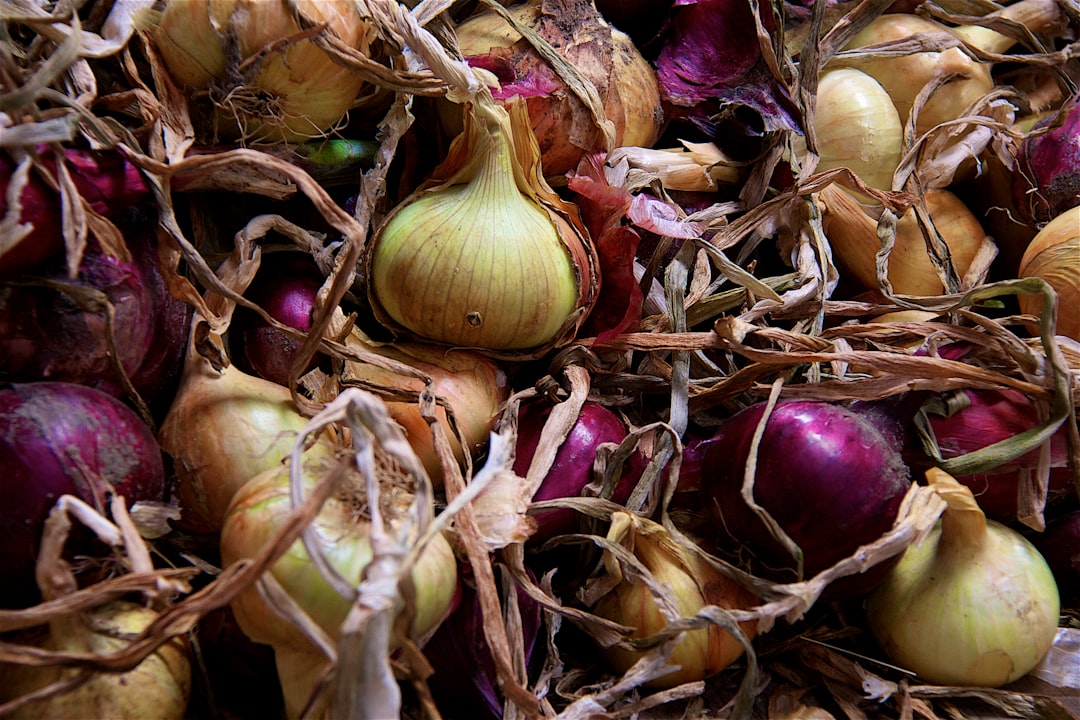
Edible gardening is a rewarding endeavor that allows you to grow your own fresh produce right at home. One crucial aspect of this process is knowing how and when to transplant starter trays of seedlings into bigger pots and eventually plant them outdoors. In this article, we'll explore the steps involved in these processes and provide you with valuable tips to ensure your seedlings develop properly.
### When to Transplant Seedlings into Bigger Pots
Timing is key when it comes to transplanting seedlings. You want to give them enough time to develop a strong root system but not let them become root - bound in the starter trays. As a general rule, seedlings are ready to be transplanted into bigger pots when they have their first set of true leaves. True leaves are the ones that come after the initial cotyledons (the first leaves that emerge from the seed). This usually occurs about 2 - 3 weeks after germination, depending on the plant species.
Another sign that your seedlings are ready for a bigger home is when their roots start to peek out of the drainage holes in the starter tray. If you notice this, it's a clear indication that they need more space to grow.
### How to Transplant Seedlings into Bigger Pots
Before you start transplanting, gather all the necessary materials. You'll need bigger pots, a high - quality potting mix, a small trowel or spoon, and some water. Here are the steps:
- Prepare the pots: Fill the bigger pots about three - quarters full with the potting mix. Make a small hole in the center of the potting mix using your trowel or spoon. The hole should be deep and wide enough to accommodate the seedling's root ball.
- Remove the seedling from the starter tray: Gently loosen the soil around the seedling in the starter tray. You can use a small tool or your fingers to do this. Then, carefully lift the seedling out by holding the leaves, not the stem. The stem is delicate and can be easily damaged.
- Place the seedling in the new pot: Lower the seedling into the hole in the new pot. Make sure the top of the root ball is level with the surface of the potting mix. Gently fill in the space around the root ball with more potting mix, pressing it down lightly to secure the seedling.
- Water the seedling: After transplanting, give the seedling a good drink of water. This will help settle the soil around the roots and reduce transplant shock. Water until the water drains out of the bottom of the pot.
### Caring for Transplanted Seedlings
Once you've transplanted your seedlings into bigger pots, they need proper care to continue growing strong. Place them in a location with bright, indirect light. Too much direct sunlight can be overwhelming for the young plants at this stage. Keep the soil moist but not waterlogged. You can check the moisture level by sticking your finger about an inch into the soil. If it feels dry, it's time to water.
### When to Plant Seedlings Outdoors
Before you can plant your seedlings outdoors, you need to make sure the weather is suitable. Most seedlings should not be planted outdoors until all danger of frost has passed in your area. You can check your local frost dates online or with your local agricultural extension office.
Another important factor is the hardening - off process. Hardening off is the gradual acclimation of seedlings to outdoor conditions. Start by placing the seedlings outside in a sheltered, shady spot for a few hours a day. Over the course of a week or two, gradually increase the amount of time they spend outside and expose them to more sunlight and wind. This will help the seedlings develop the resilience they need to thrive outdoors.
### Tips for Planting Seedlings Outdoors
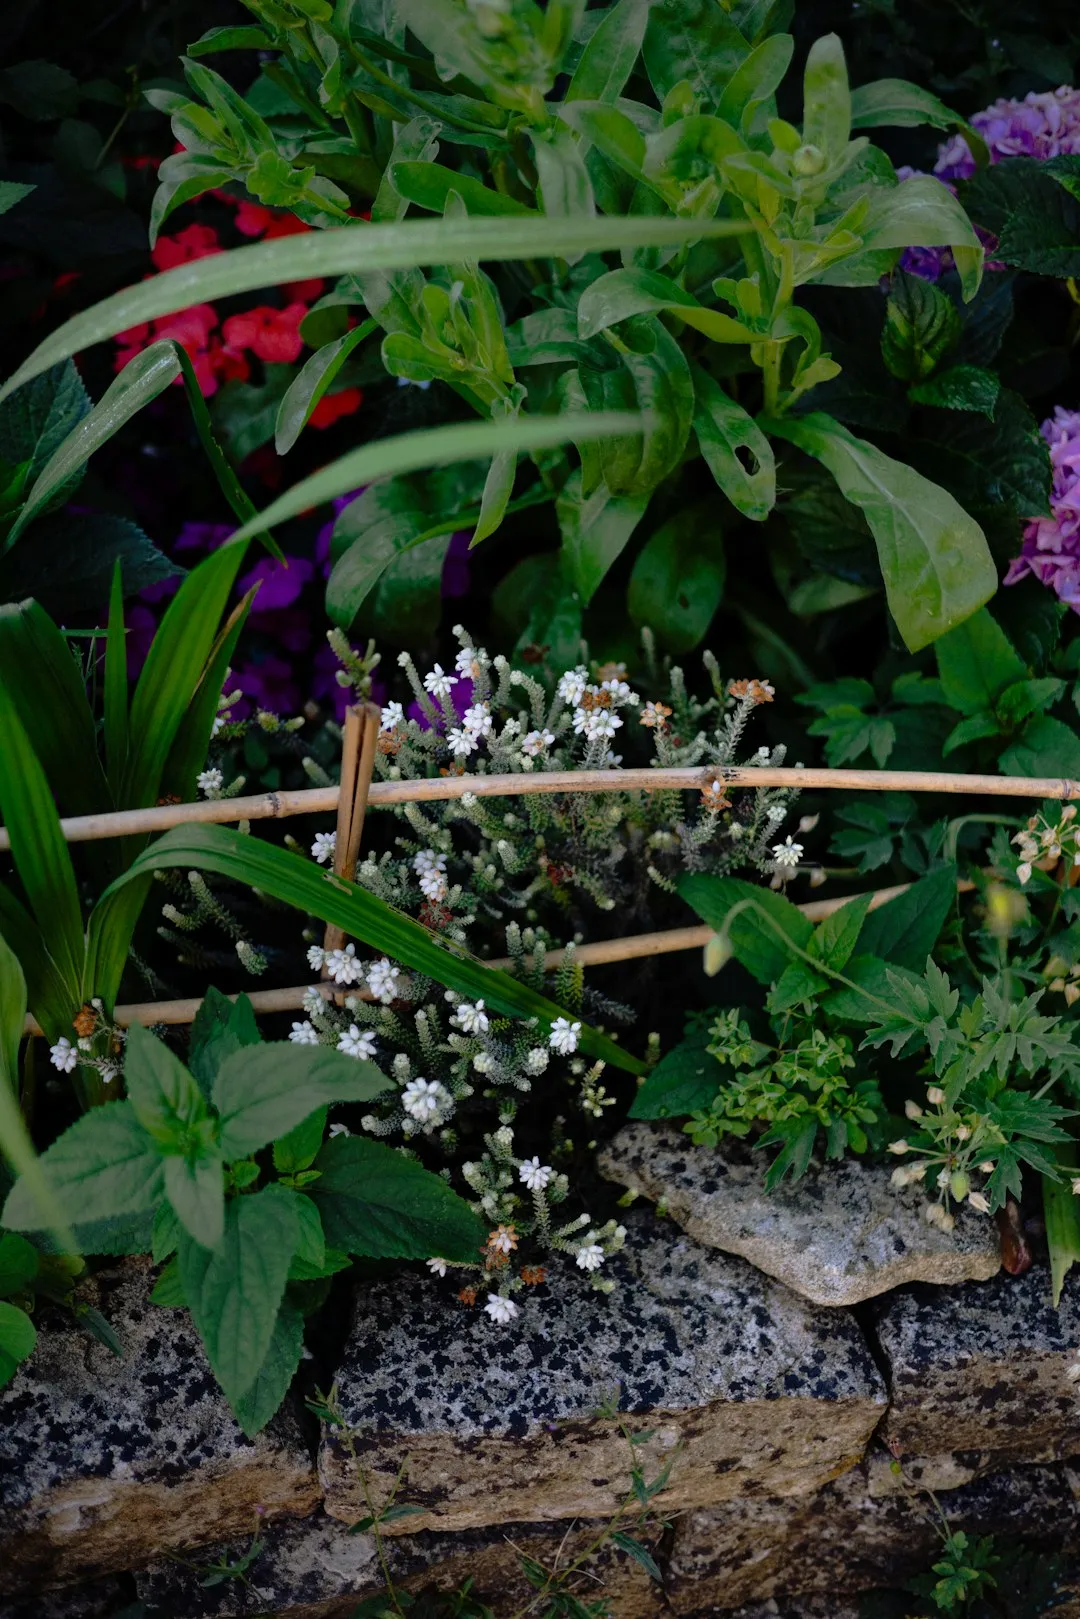
When you're ready to plant your seedlings outdoors, choose a sunny location with well - drained soil. Prepare the soil by removing any weeds and adding compost or other organic matter to improve its fertility. Dig holes in the soil that are slightly larger than the root balls of the seedlings.
Carefully remove the seedlings from their pots and place them in the holes. Backfill the holes with soil, gently pressing it down around the base of the seedlings. Water the seedlings thoroughly after planting to help them establish in their new environment.
It's also a good idea to mulch around the seedlings. Mulch helps retain moisture in the soil, suppresses weeds, and regulates soil temperature. You can use organic mulches such as straw, shredded leaves, or wood chips.
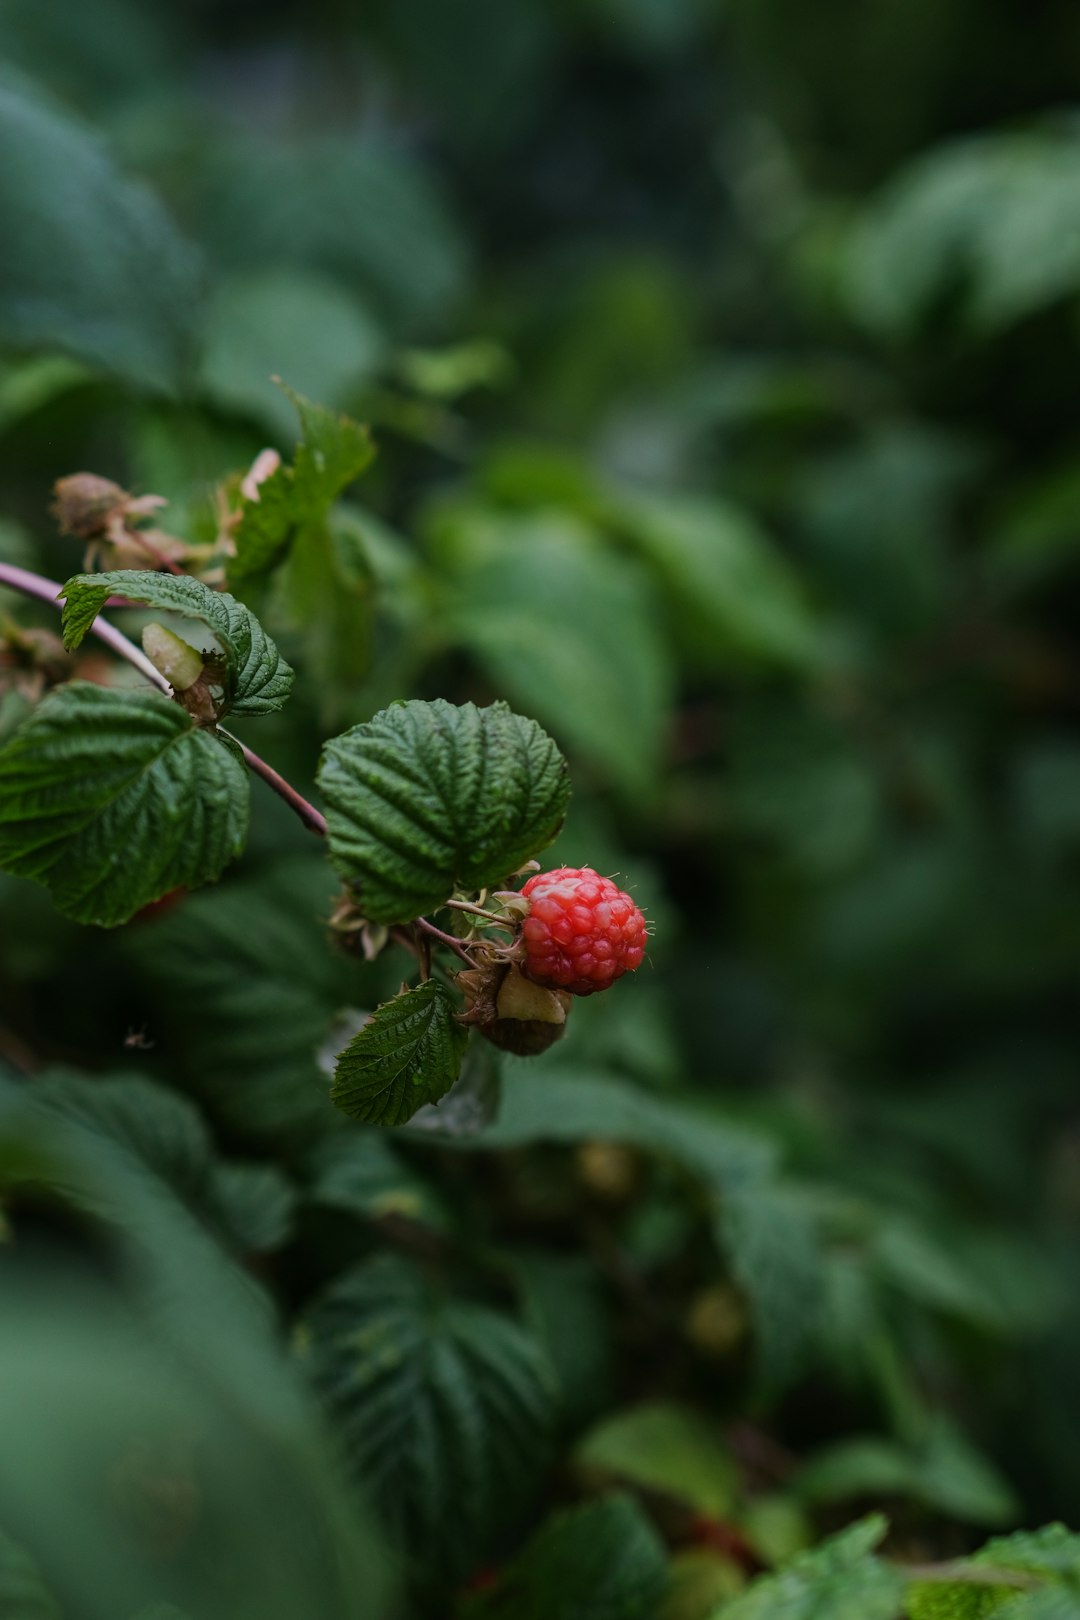
Regularly monitor your seedlings after planting them outdoors. Watch for signs of pests or diseases and take appropriate action if needed. With proper care and attention, your seedlings will grow into healthy, productive plants that will provide you with a bountiful harvest.
In conclusion, transplanting seedlings into bigger pots and eventually planting them outdoors is an essential part of edible gardening. By following the right timing, techniques, and care tips, you can ensure that your seedlings develop properly and thrive in their new environments. So, roll up your sleeves and get started on your edible gardening journey!
New